Complete Restoration, Hot Blueing, & Stock Refinishing, Winchester 94
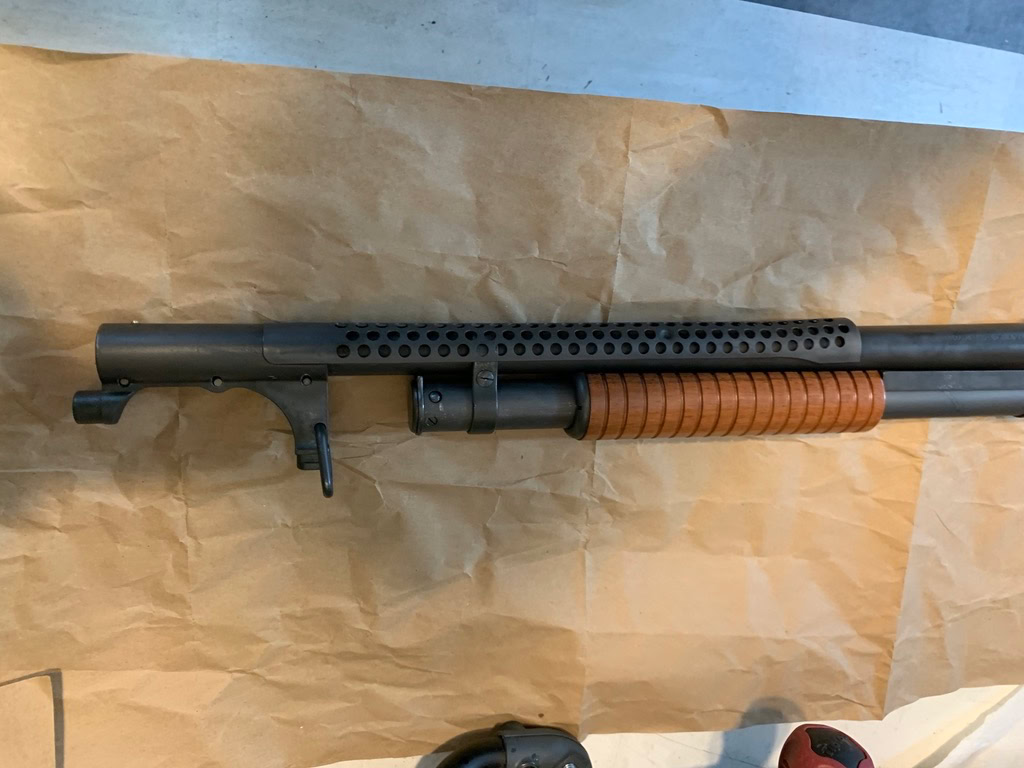
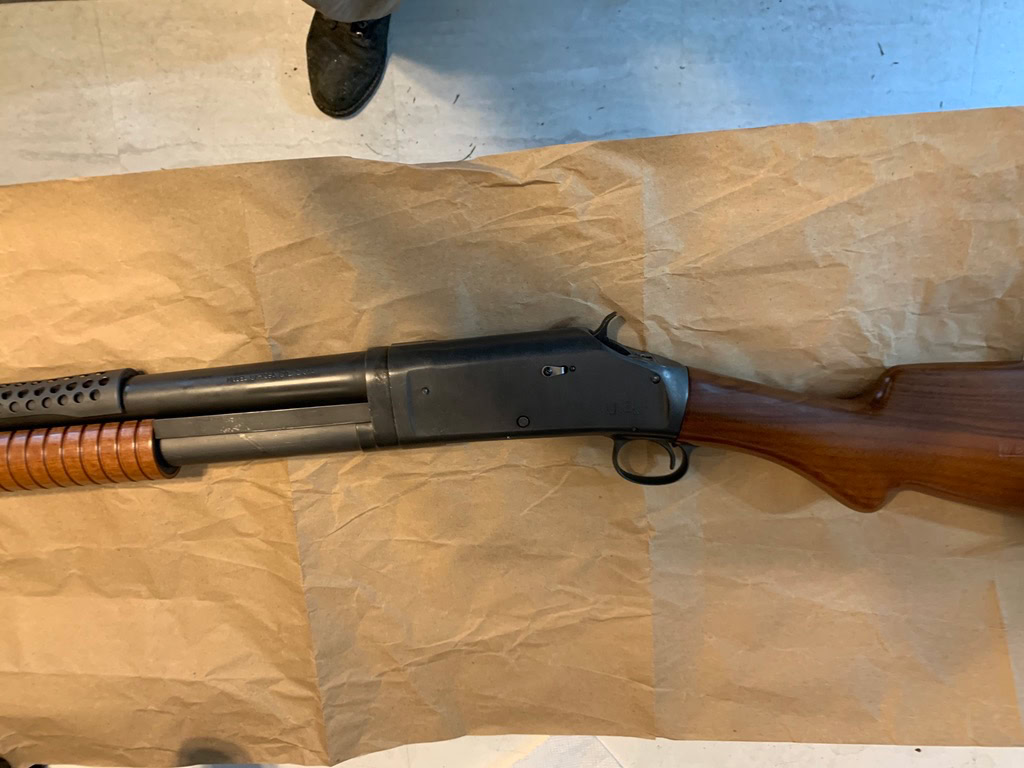
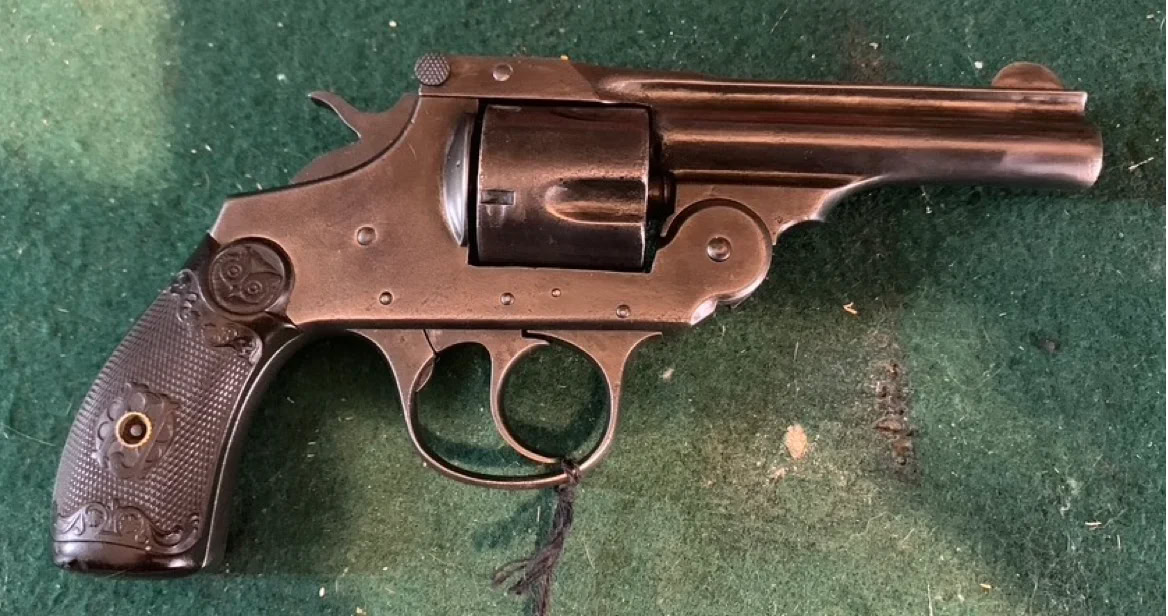
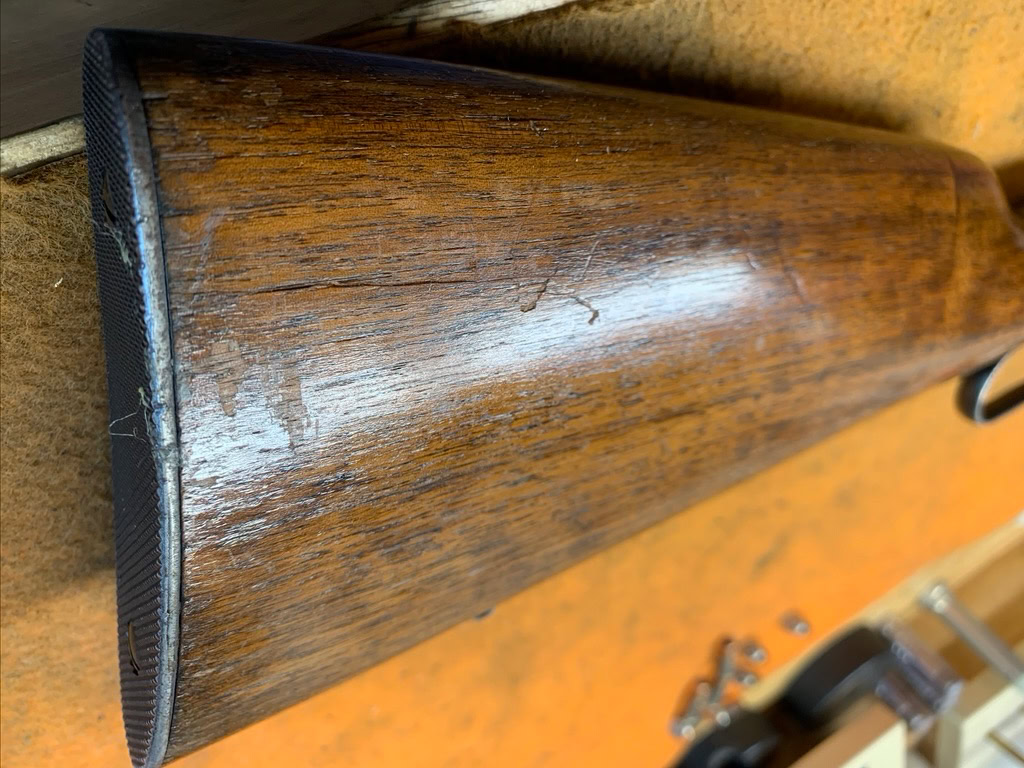
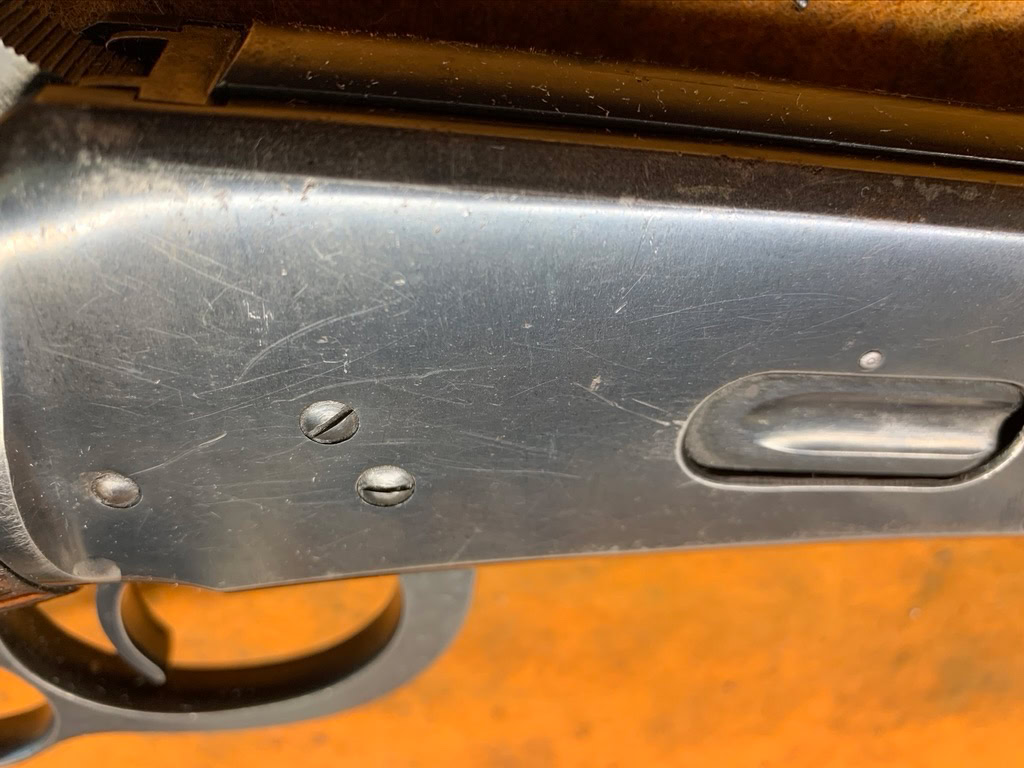
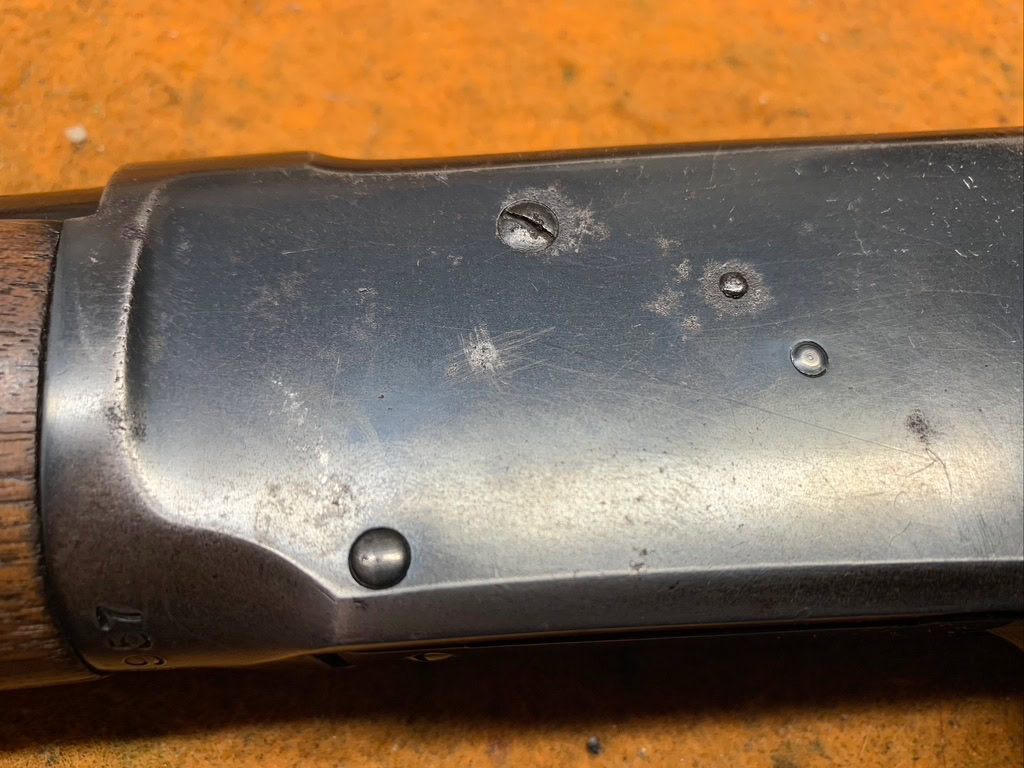
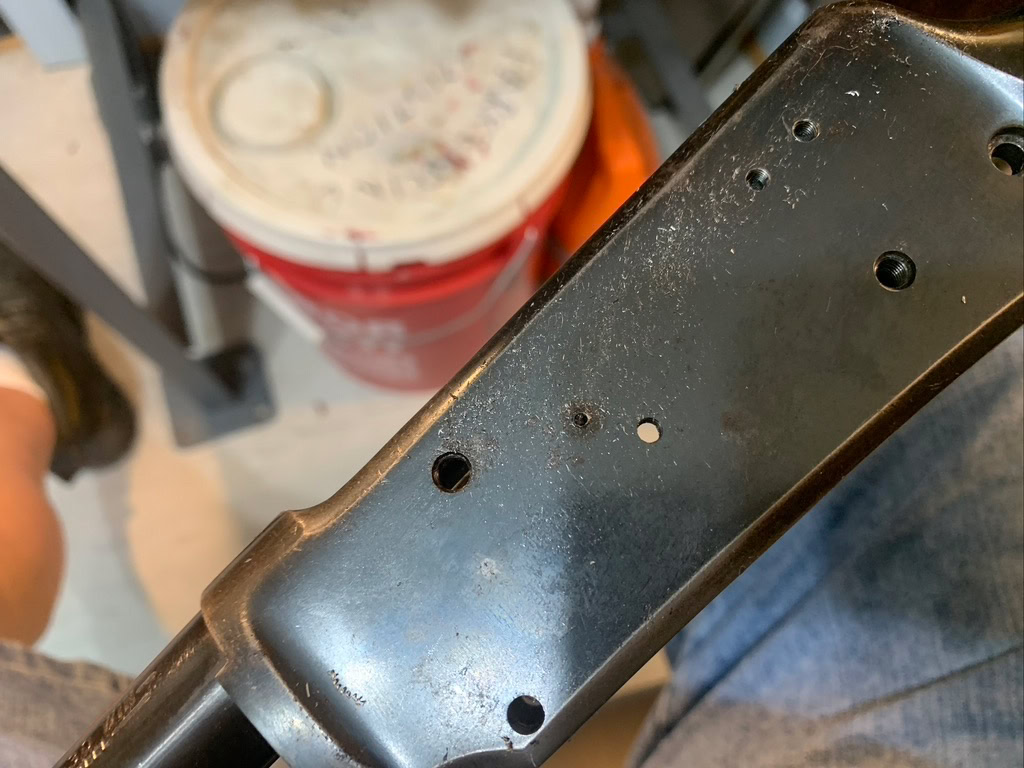
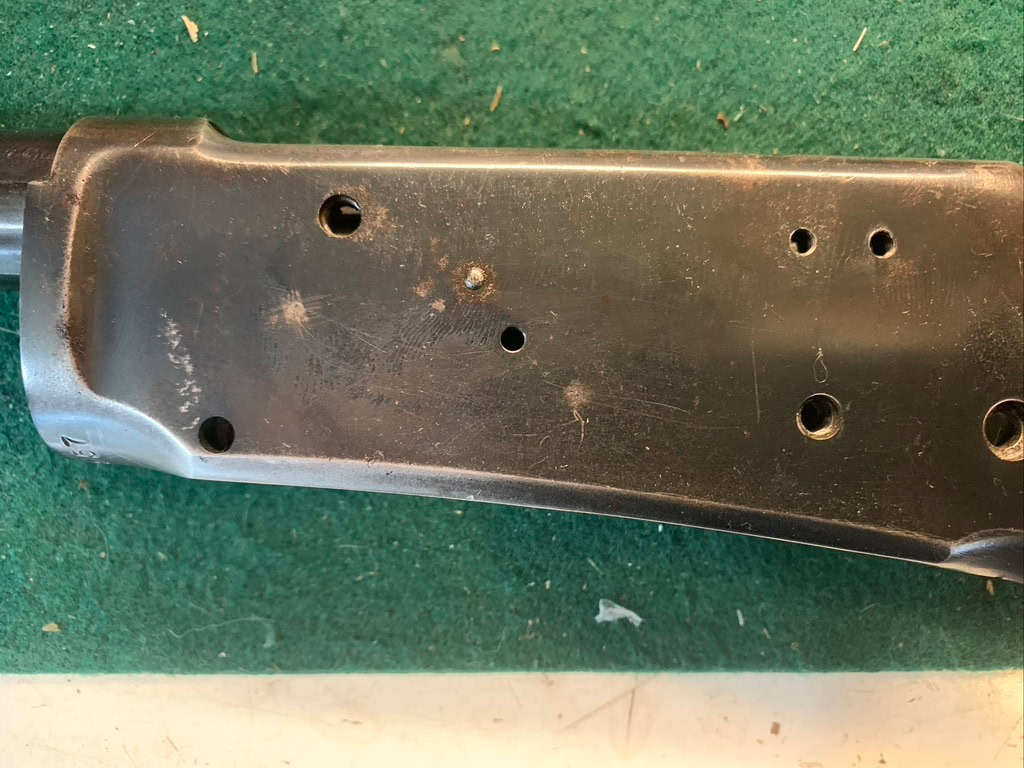
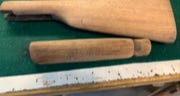
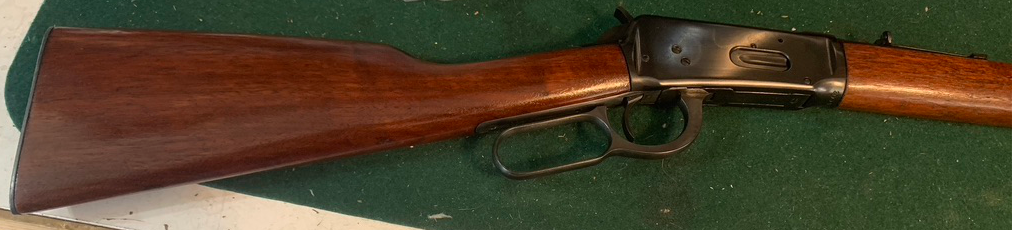
As Presented
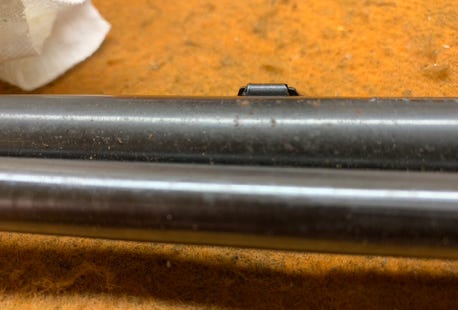
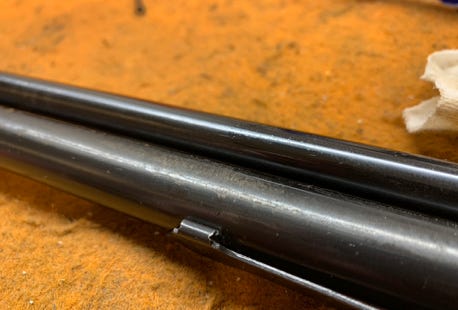
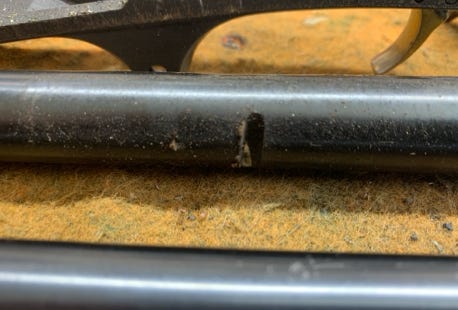
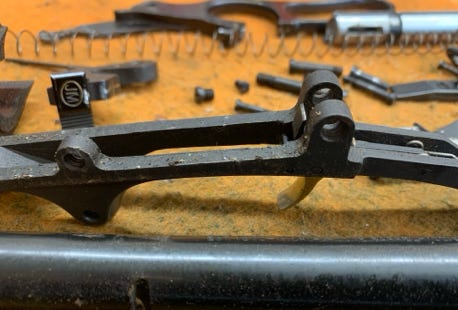
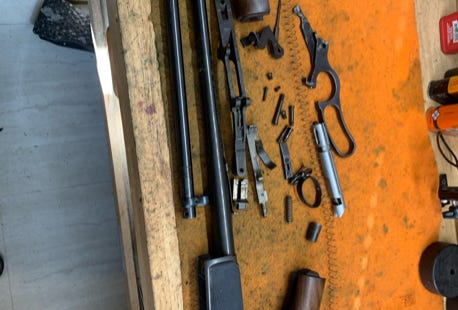
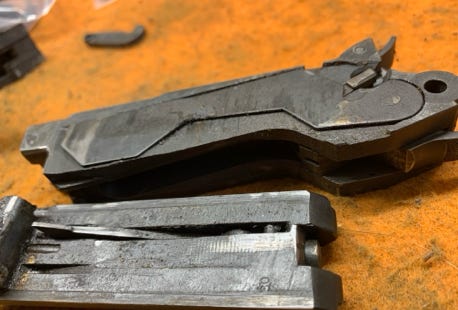
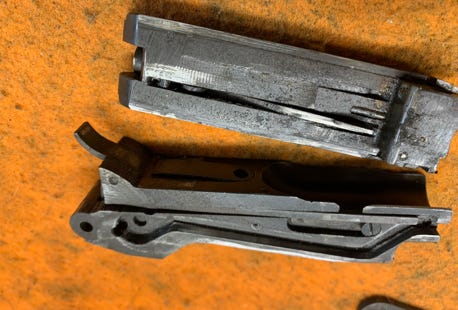
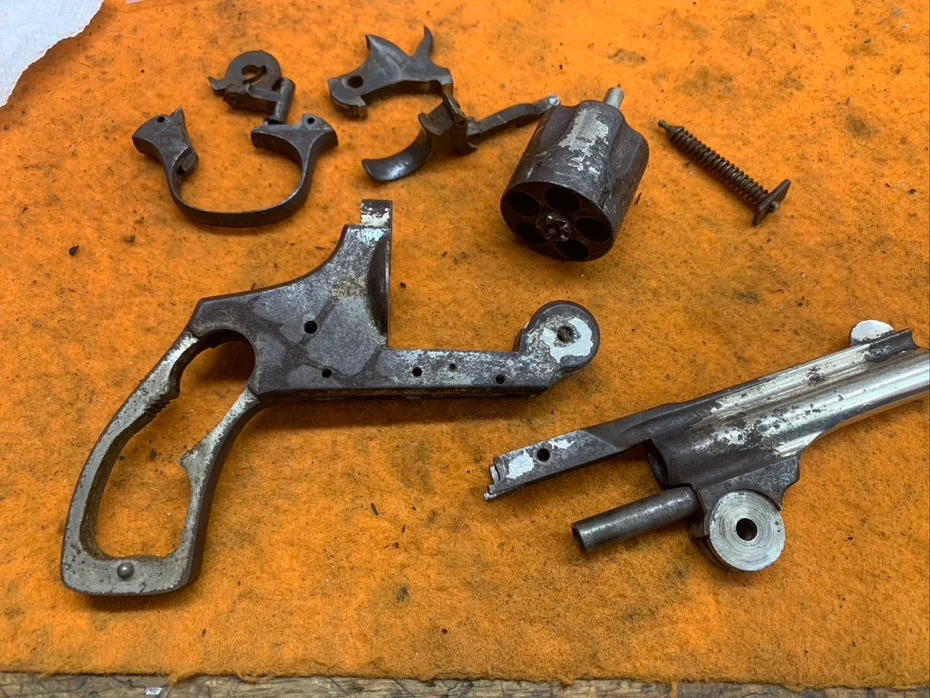
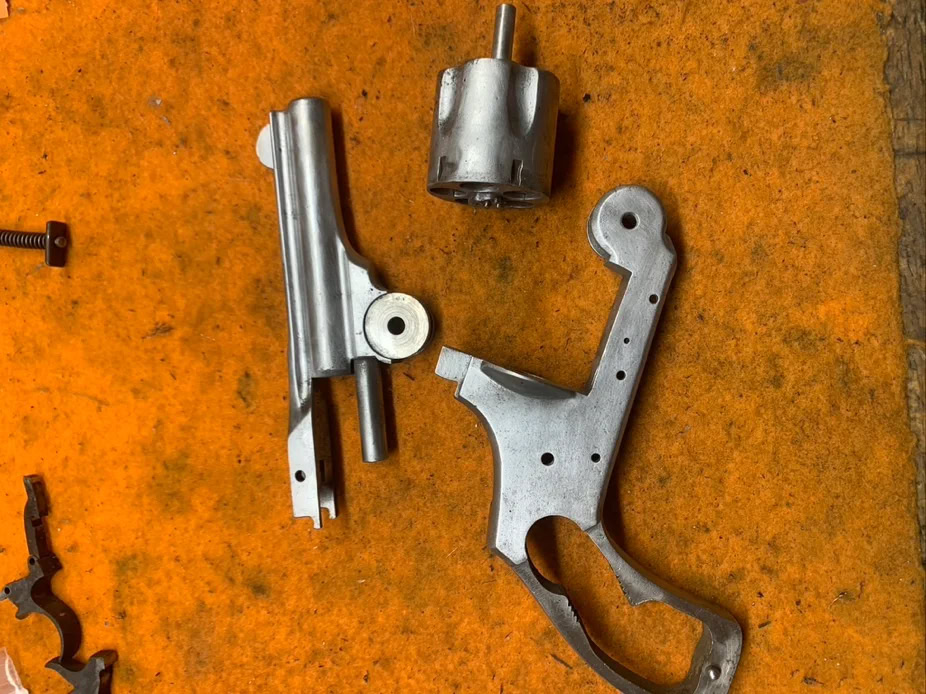
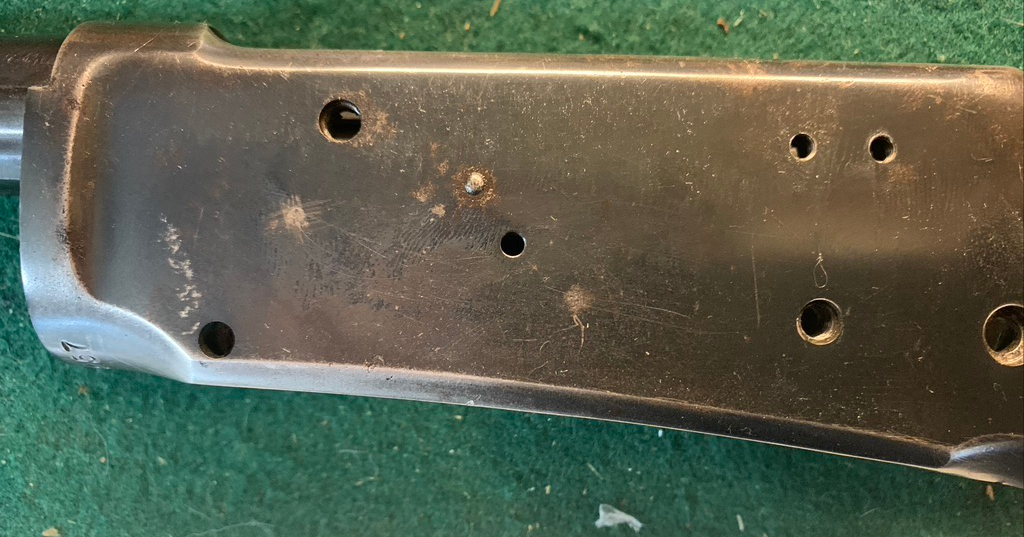
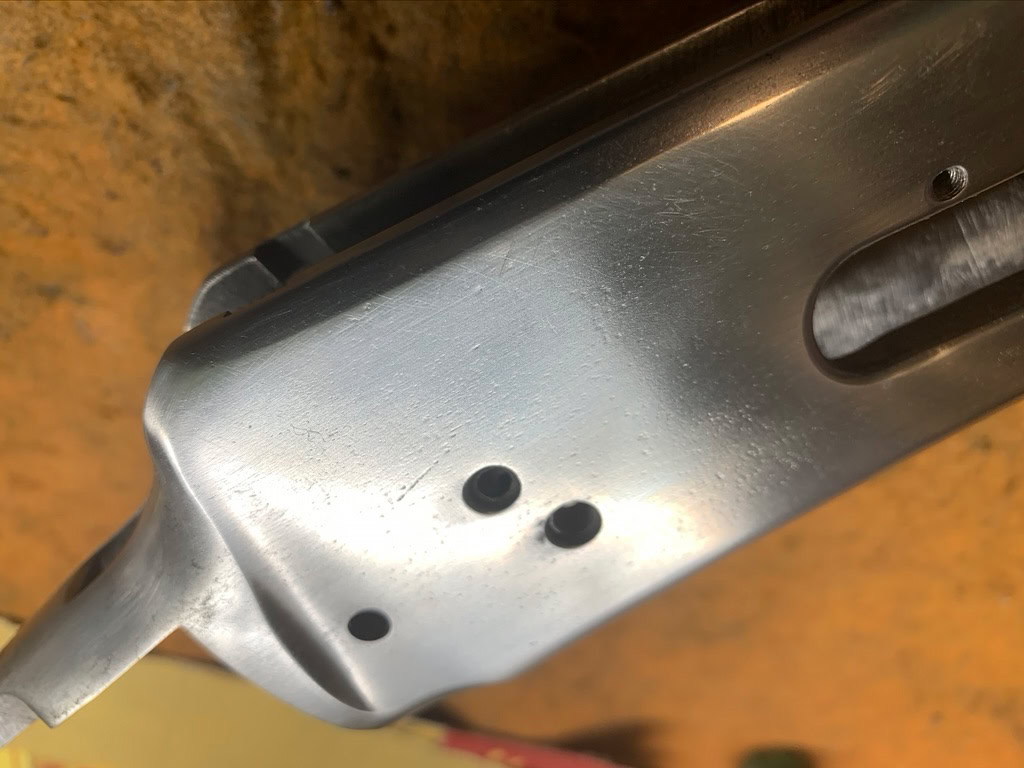
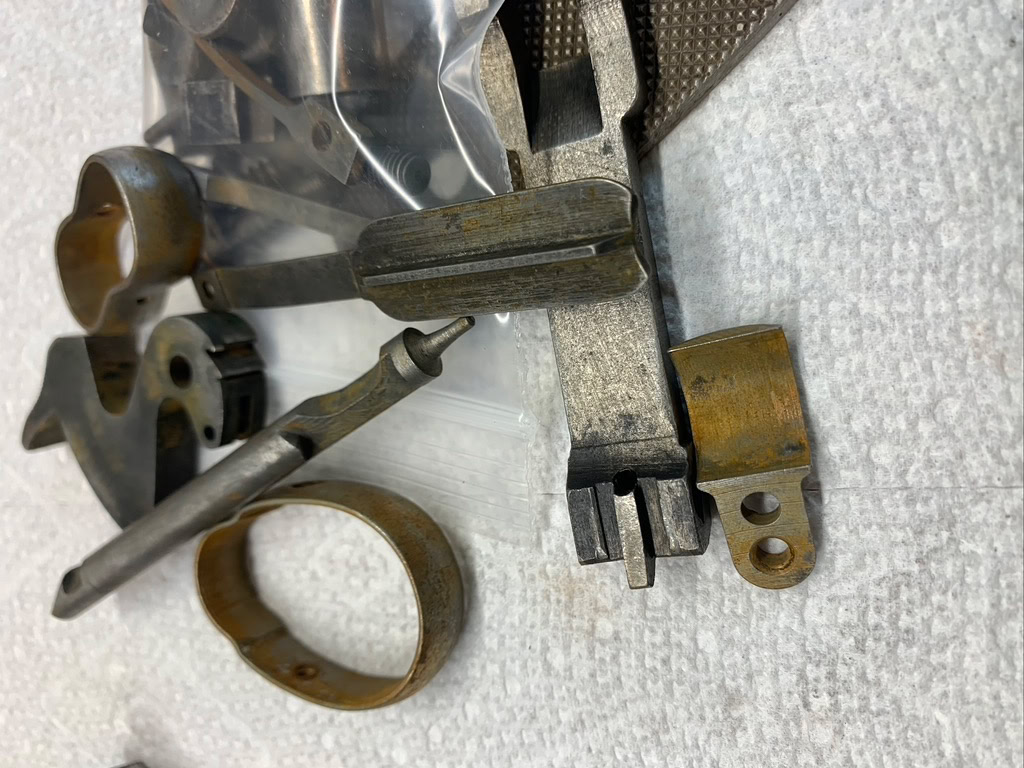
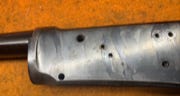
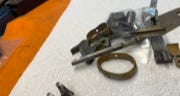
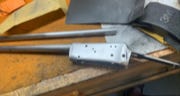
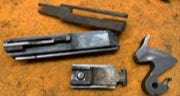
In Progress
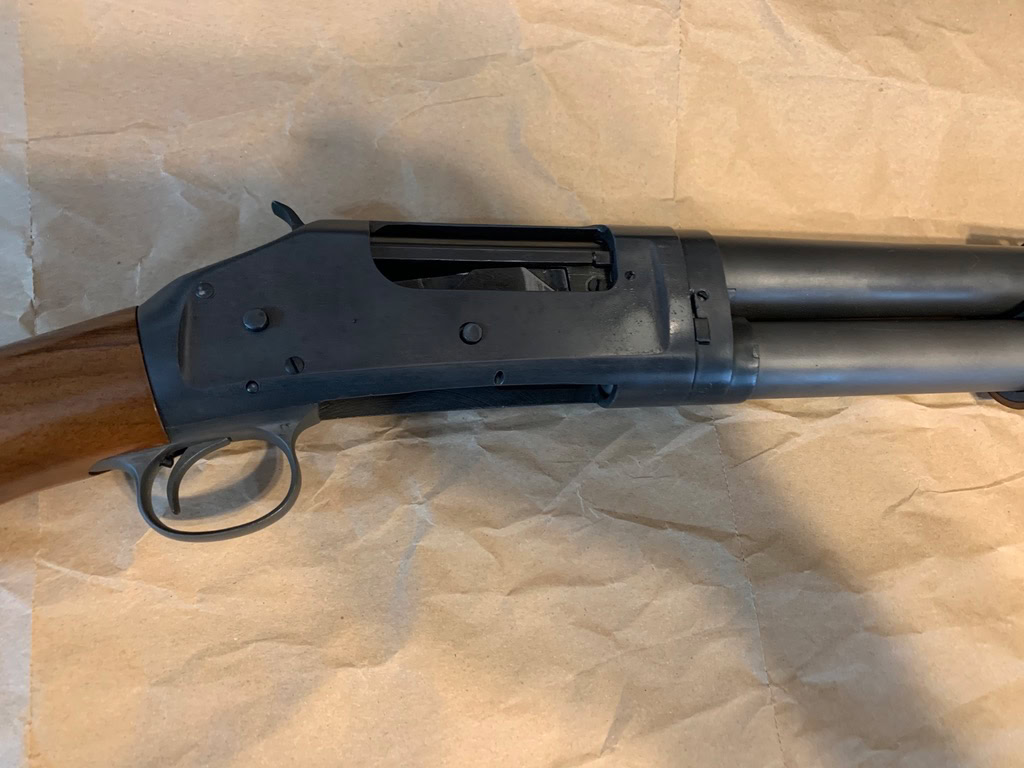
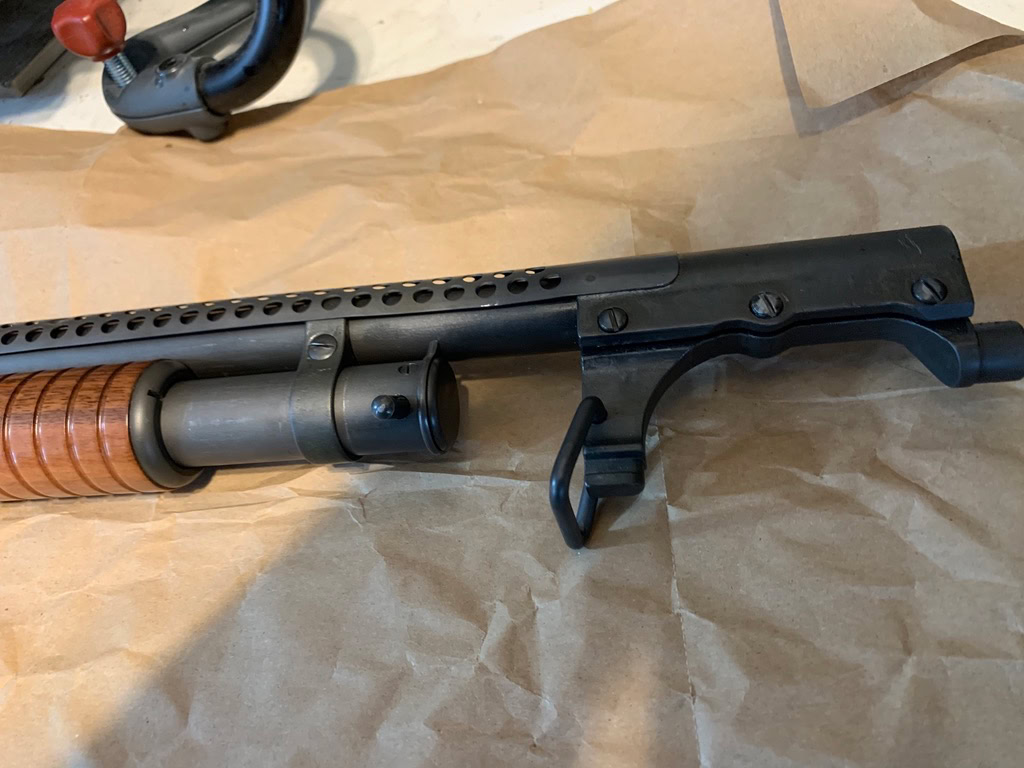
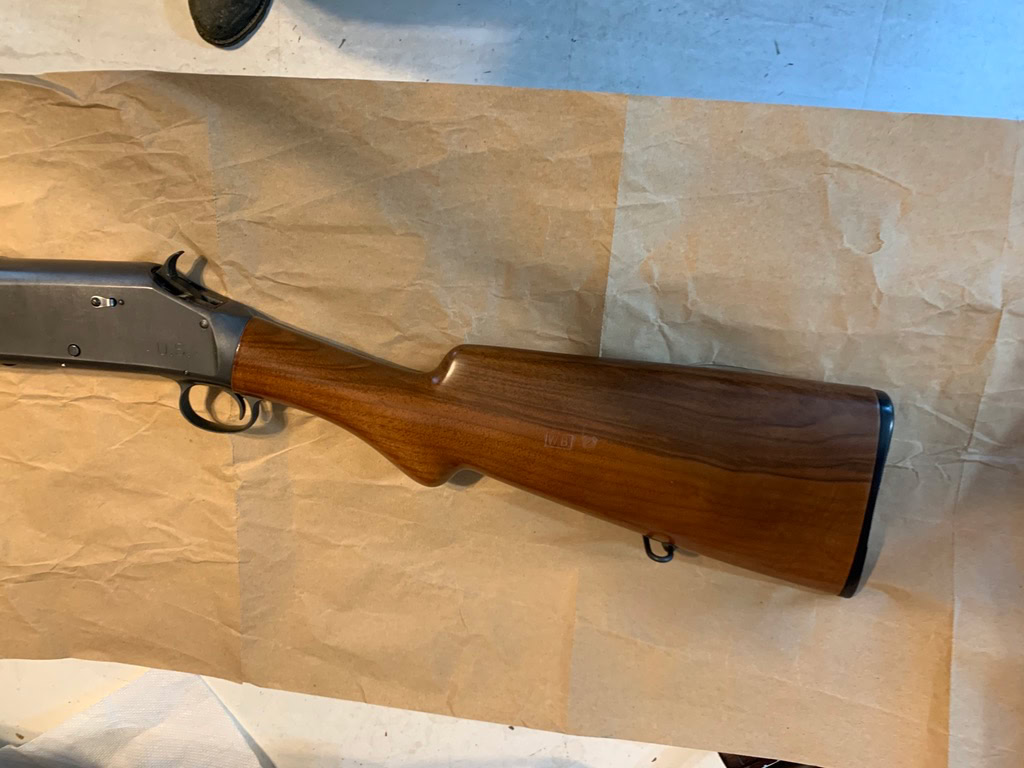
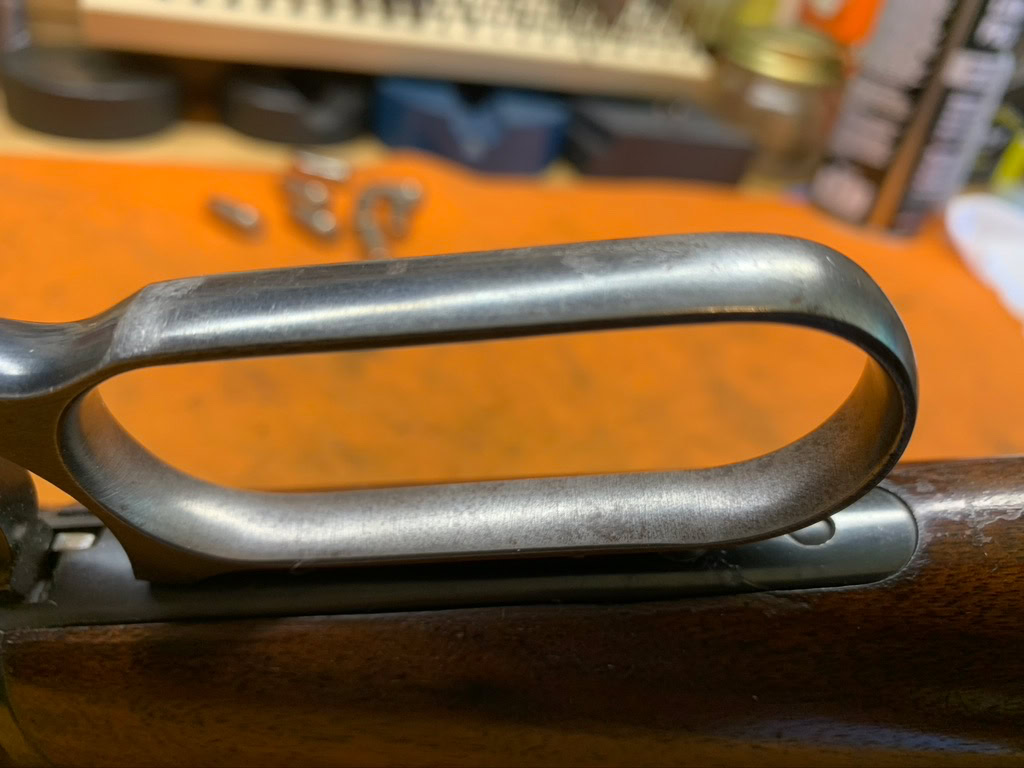
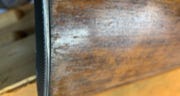
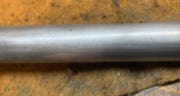
Finished Work


1
2
3
4
5
6
7
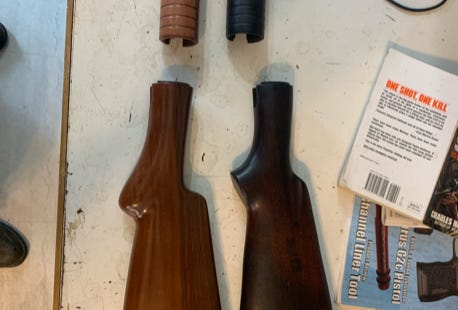
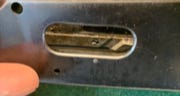
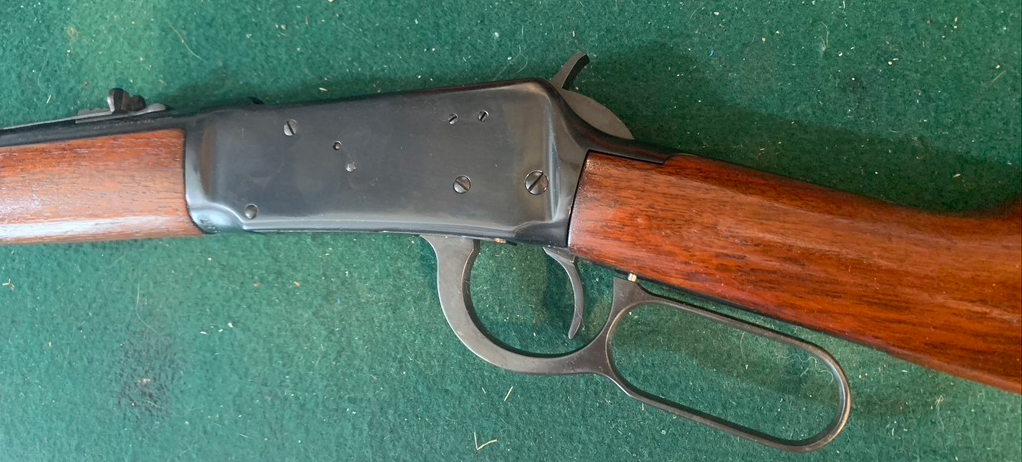
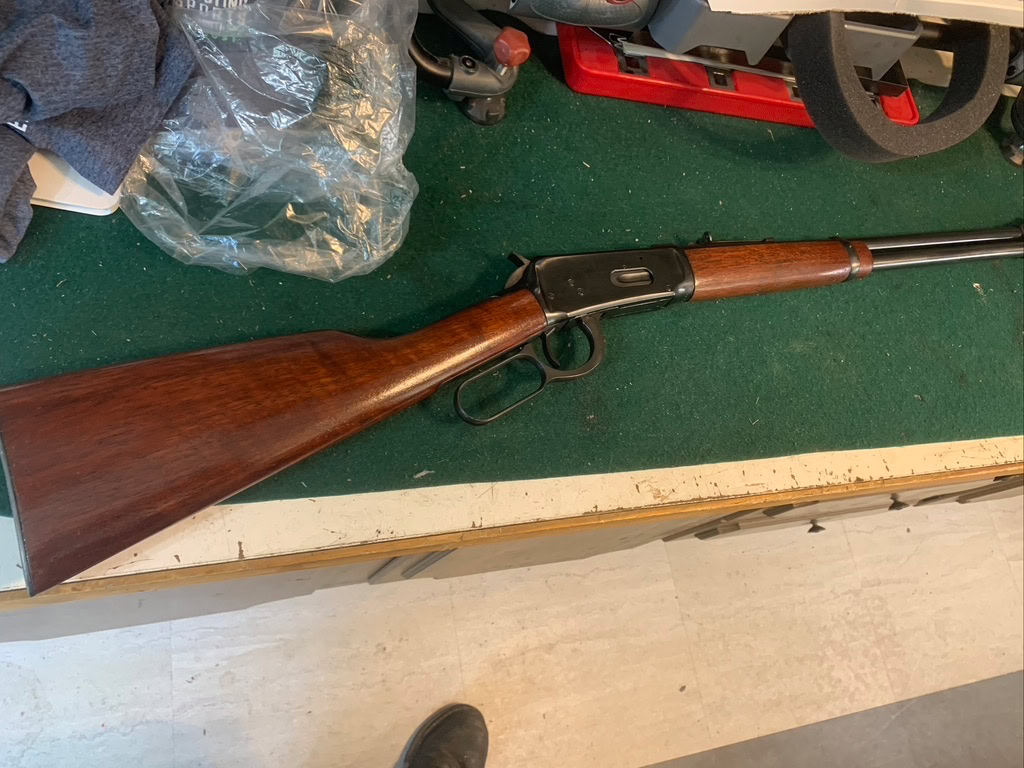
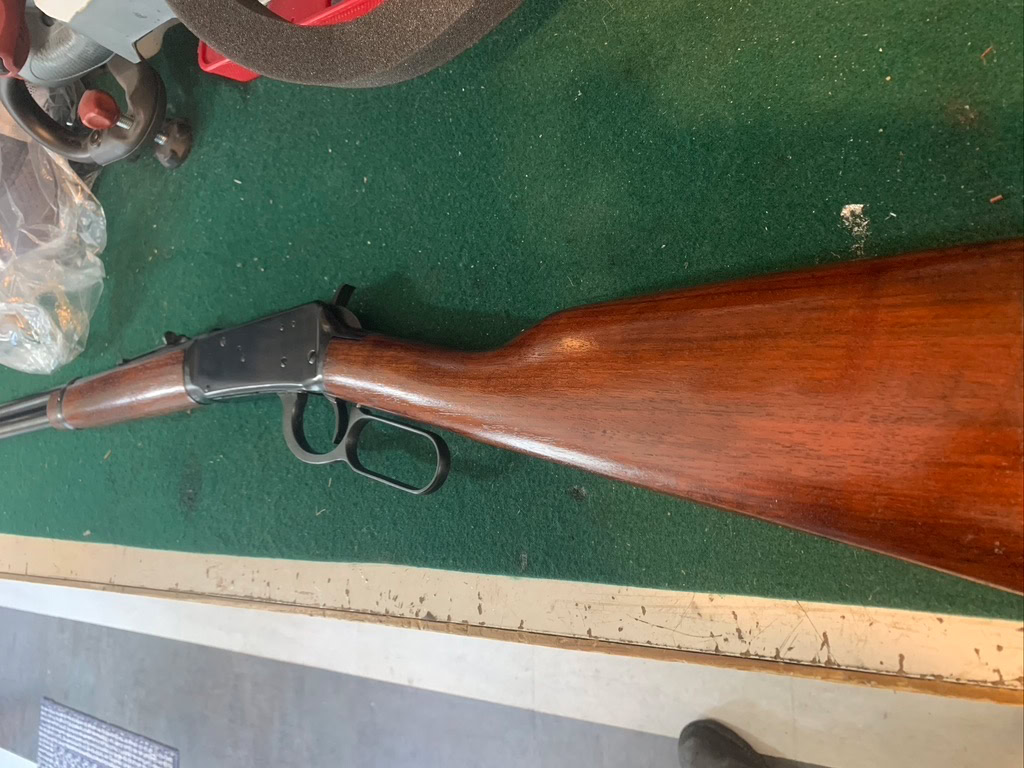
This is a Winchester 94 that was created in 1954.The owner is a firearm collector and enthusiast who decided he wanted this rifle restored to a “like new” condition.There was heavy deep pitting on both sides of the receiver as well as uneven surface rust throughout.Additionally, someone had beat the heck out of the front sight, malforming it. Further, the cartridge guide screws were rusted in-place and required drilling out and retapping from outside the receiver.As you can see, the stock was heavily worn and discolored.After literally hours of sanding and polishing the parts to remove rust and pits, I blued the parts that are normally blued and polished the parts that are not.It turned out the butt stock was cracked in two places and someone had added a sling swivel to the butt stock the owner wanted removed.I plugged the sling swivel hole and repaired the cracks, stripped the stock and forearm, then refinished them with a light-red traditional walnut stain.The rifle came out beautifully and increased its value by at least as much as the owner paid for the restoration.Looks like it just came off the factory floor in 1954.